
How to Use an Eyebrow Pencil Like a Pro: A Step-by-Step Guide
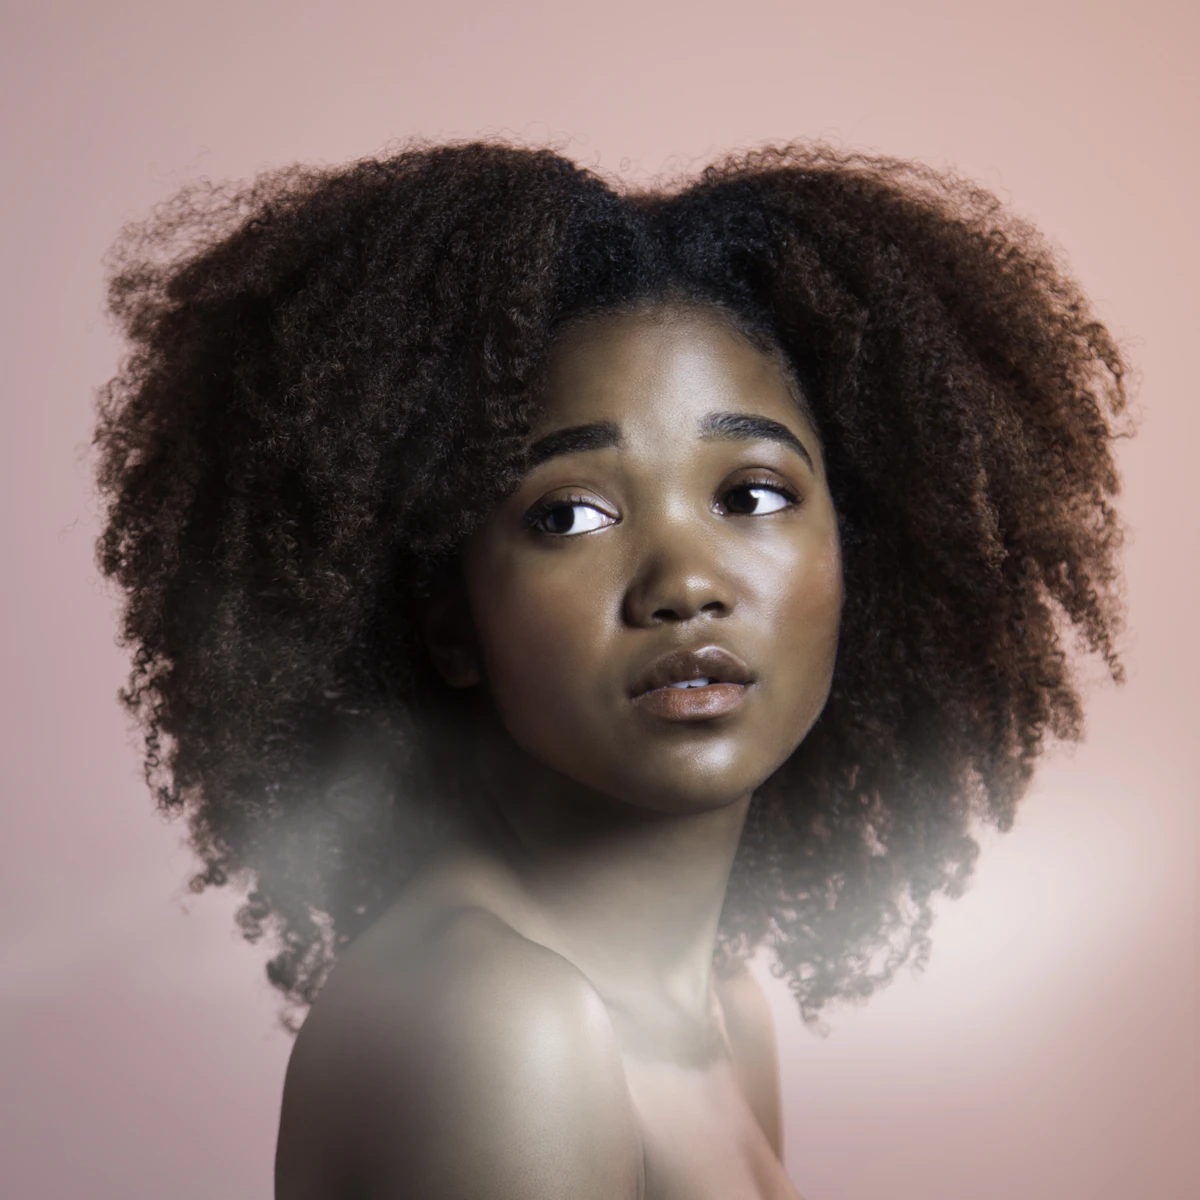
How to Master the Eyebrow Pencil for Naturally Defined Arches
Well-groomed, nicely shaped brows frame your entire face and instantly elevate your makeup look. While eyebrow pencils are classic staples for filling in sparse spots, modern beauty trends also use them to add soft dimension, sharpen angles, and create eye-catching definition.
If you want full, balanced brows that still look soft and realistic, here is your definitive step-by-step guide to applying an eyebrow pencil like an expert.
Step-by-Step: How to Apply Eyebrow Pencil
1. Prep and shape your brows first. A smooth canvas makes all the difference. Before reaching for any product, clean up stray hairs using tweezers, thread, or wax according to your natural brow shape. Combing through your bare brows with a clean spoolie will help you identify the areas that truly need extra fullness.
2. Pick the right shade for your hair and complexion. Nothing ruins a polished look faster than brows that clash with your features. Avoid using harsh, pitch-black pencils—even if you have dark hair, a soft espresso, cool charcoal, or dark taupe tends to look far more natural. As a general rule, choose a pencil that is one to two shades lighter than your natural hair color if you have dark locks, or one shade deeper if you have light blonde hair. Warm and cool-toned browns remain the most versatile choices.
3. Keep that pencil tip razor-sharp. Realistic brows require fine, precise hair-like strokes. If your pencil is dull or rounded, you will end up with blocky, smudgy lines that look artificial. Give your pencil a quick sharpen before every application to maintain ultimate control.
4. Fill in starting from the inner corner outward. Hold your pencil with a light, relaxed grip. Start near the inner brow and sketch short, upward, feathery strokes in the direction of hair growth. Gradually work your way through the arch and toward the tail, keeping the outer edges soft rather than drawing a hard outline around your brow.
5. Clean up any slip-ups immediately. If you accidentally stray outside your natural brow line, do not panic. Brow pigments set quickly, so dip a precision cotton swab into micellar water or gentle toner and neatly wipe away excess pigment before it sets.
6. Blend with a spoolie and lock it down. Blending is the secret to soft, believable brows. Run a spoolie brush through your arches using gentle upward motions to disperse concentrated pigment and blur harsh lines. To keep stray hairs in place all day long, seal your hard work with a sweep of clear brow gel or lightweight setting mascara.
Quick Pro Tips for Picture-Perfect Brows
- Carve with concealer: For a crisp, red-carpet finish, trace just under the brow bone with a tiny bit of lightweight concealer on a flat brush, then blend downward.
- Timing matters: Apply your brow pencil after completing your foundation and concealer routine so you can gauge how much intensity your face really needs.
- Keep cotton swabs handy: Always double-check your arches in natural lighting and tidy up stray marks before locking in your final makeup look.
You Might Also Like
 Beauty
How to Make Your Own Liquid Blush at Home for a Radiant Glow
Turn your favorite powder blush into a dewy, long-lasting cheek tint using everyday skincare. Here is an easy step-by-step DIY guide for a fresh, natural flush.
 Beauty
How to Make Your Own Cream Blush at Home
Give your favorite nearly empty lipsticks a second life by turning them into a gorgeous, dewy cream blush using simple skincare staples.
 Beauty
How to Minimize the Look of Large Pores with Foundation: A Step-by-Step Guide
Learn practical makeup techniques and skincare prep to blur visible pores and achieve a smooth, airbrushed finish with foundation.