
How to Soothe Redness After Waxing
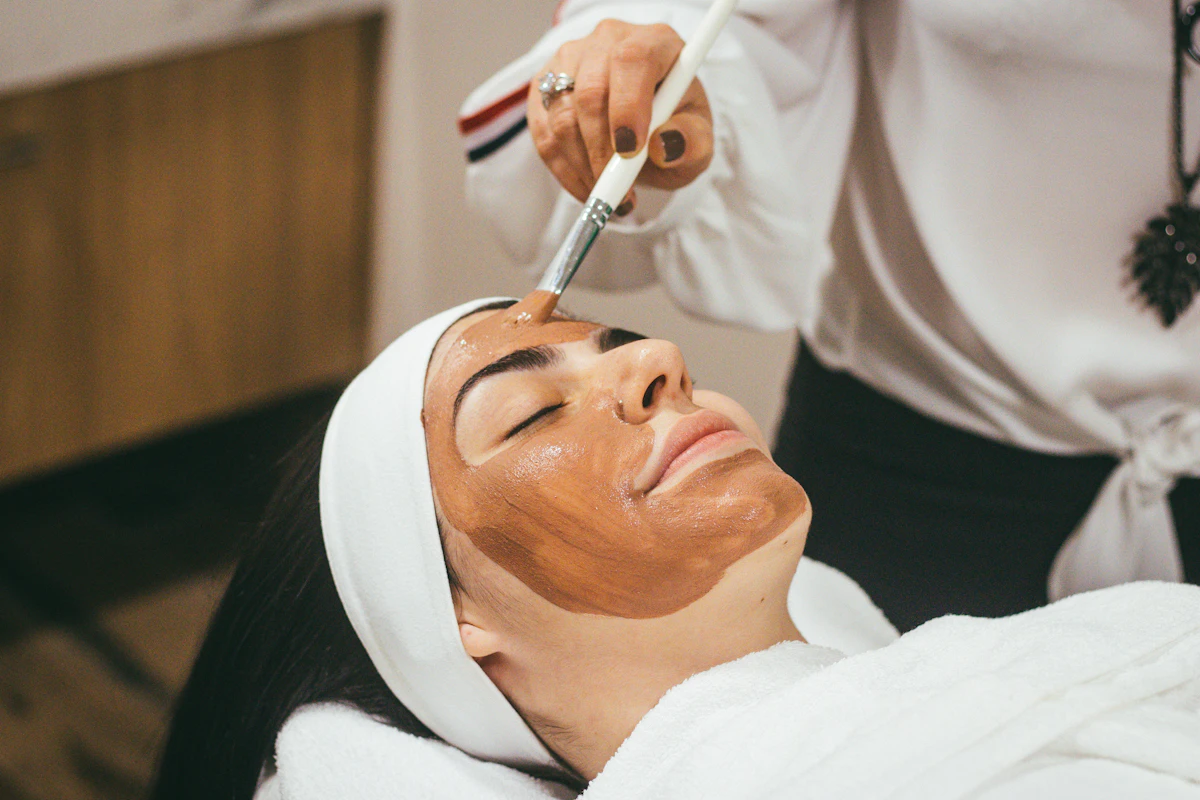
If you have sensitive or fair skin, post-wax redness and minor bruising are all too familiar. When hair is yanked directly from the root, your body naturally responds with localized inflammation. Here are the most effective ways to calm irritated skin and kick post-wax redness to the curb:
How to Soothe Redness After Waxing
1. Apply an ice pack or cold compress. Chilling the waxed area constricts blood vessels and calms sensitized hair follicles, helping your skin bounce back to its natural tone much faster.
2. Skip hot showers and baths. Hot water cranks up blood flow, which makes redness spread and intensifies skin irritation. If you must wash up, stick to lukewarm water, or use cool water if you can handle it.
3. Smooth on pure aloe vera. A trusted natural remedy for burns and inflammation, pure aloe vera gel instantly cools heated skin. You will feel immediate relief as the burning sensation subsides and the redness begins to fade.
4. Avoid waxing during your period. Hormonal shifts make your skin far more sensitive during your menstrual cycle. Even if your skin is usually tough, waxing right now can trigger intense redness and extra discomfort.
Quick Tips
Keep a cold compress on the area for at least 5 minutes, or a bit longer if comfortable, to speed up relief.
Steer clear of tight-fitting clothes right after your appointment. Snug fabrics trap heat, rub against sensitive pores, and make irritation linger. Stick to loose, breathable cotton instead.
If you need hair removal during your period, stick to shaving and wait a few days after your cycle finishes before booking your next wax.
You Might Also Like
 Beauty
Winter Nail Care Guide: How to Strengthen Weak, Brittle Nails at Home
Cold weather can leave your nails brittle and peeling. Discover simple DIY soaks, nourishing habits, and seasonal tips to keep your nails strong all winter.
 Beauty
How to Make Your Own Liquid Blush at Home for a Radiant Glow
Turn your favorite powder blush into a dewy, long-lasting cheek tint using everyday skincare. Here is an easy step-by-step DIY guide for a fresh, natural flush.
 Beauty
How to Make Your Own Cream Blush at Home
Give your favorite nearly empty lipsticks a second life by turning them into a gorgeous, dewy cream blush using simple skincare staples.