
How to Safely Remove Gel Nails at Home Without Damaging Your Natural Nails
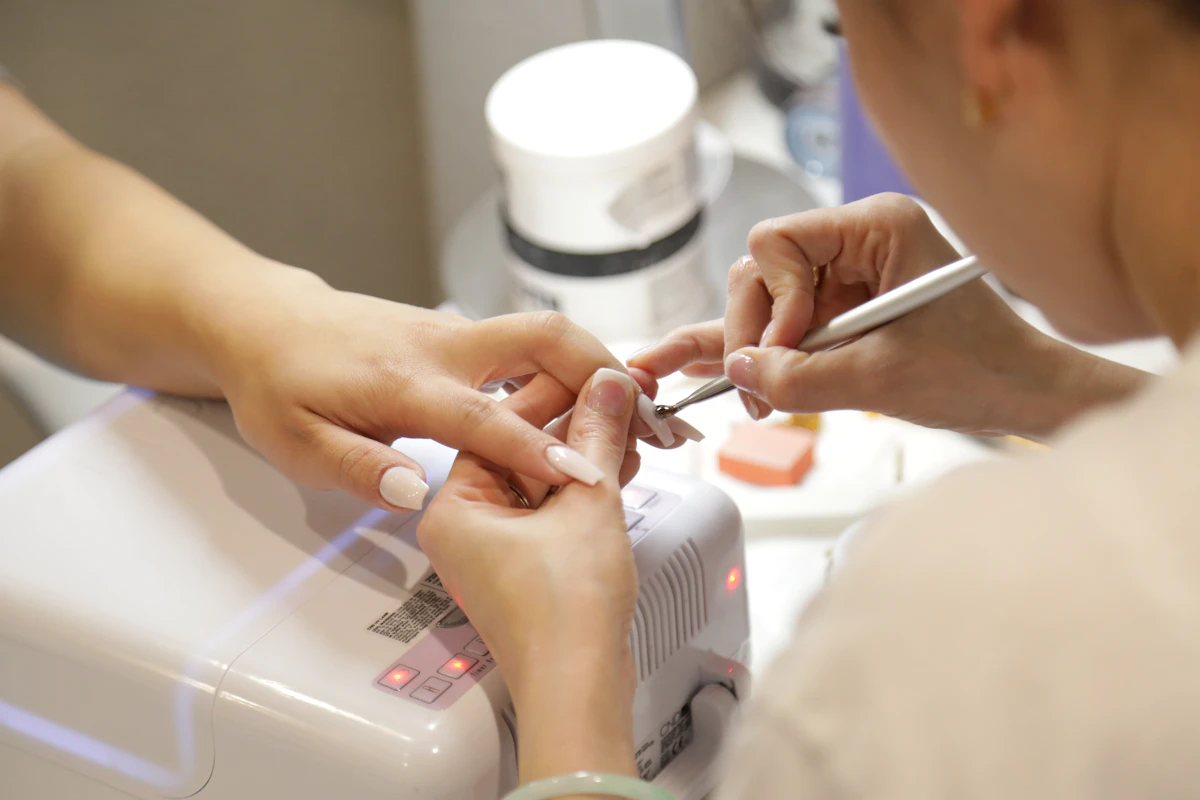
How to Safely Remove Gel Nails at Home
If you love a manicure that stands up to constant handwashing, chores, and everyday life without chipping, gel nails are an absolute game-changer. For weeks, your nails look glossy, polished, and completely salon-fresh.
However, once the gel begins to grow out or lift at the edges, getting it off becomes a whole different story. Reaching for a regular bottle of non-acetone nail polish remover will leave you frustrated—it simply lacks the strength to break down cured gel polish. Peeling or scraping the gel off dry is even worse, as it strips away vital layers of your natural nail bed.
Thankfully, you can achieve a clean, damage-free removal in the comfort of your own home. Here is your ultimate step-by-step guide to removing gel nails safely.
Tools and Materials You Will Need
Gather your supplies ahead of time so you do not have to scramble halfway through the process:
- 100% Pure Acetone: Regular polish remover will not dissolve gel. Pure acetone is essential and readily available at drugstores or beauty supply shops.
- Aluminum Foil: Cut into 10 small square sheets, large enough to wrap securely around each fingertip.
- Cotton Balls or Pads: Cut cotton pads into smaller pieces to match the size of your nail plates.
- Dual-Sided Nail File and Buffer: A coarse grit file to break the top coat and a fine grit file for gentle cleanup.
- Wooden Cuticle Sticks: Also known as orange wood sticks, perfect for gentle scraping.
- Petroleum Jelly (Vaseline) or Cuticle Oil: To protect and rehydrate your skin.
- Paper Towels: To keep your workspace clean.
- A Dose of Patience: Rushing the process is what causes nail damage!
Step-by-Step Guide to Removing Gel Nails
1. Set Up and Protect Your Skin
Lay down a paper towel over your table to catch any nail dust or acetone drips. Before applying any acetone, dab a thin layer of petroleum jelly around your cuticles and the skin surrounding your nails. This creates a barrier that prevents the acetone from drying out your delicate skin.
2. File Down the Top Coat
Take the coarse side of your dual-sided nail file and gently buff the surface of each nail. Your goal here is not to file off the entire gel layer, but simply to break the clear, shiny top seal. Once the shine turns chalky and matte, the acetone will be able to penetrate the color layers much more efficiently.
3. Soak and Wrap
Saturate a piece of cotton with 100% pure acetone and place it directly over your nail. Take a square of aluminum foil and wrap it firmly around your fingertip, folding the tip over to seal it completely. The foil traps body heat, which activates the acetone and speeds up the breakdown of the gel. Repeat on all ten fingers and let them soak for roughly 12 to 15 minutes.
4. Gently Slide Off the Softened Gel
Unwrap one finger at a time to check the progress. The gel should look wrinkled, lifted, and crumbly. Using the angled edge of a wooden cuticle stick, gently push and slide the loosened gel off the nail plate. The gel should slide off with minimal effort. If you encounter stubborn spots that resist, wrap the nail back up with the soaked cotton and foil for another 5 minutes rather than forcing it.
5. Smooth Any Remaining Residue
Once the bulk of the gel is off, switch to the fine-grit side of your nail file or a soft buffer block. Very gently buff away any tiny remnants of base coat still clinging to the surface, being careful not to thin your natural nail.
6. Cleanse and Restore Moisture
Wash your hands thoroughly with lukewarm water and a gentle soap to rinse away all traces of acetone. Acetone is extremely dehydrating, so finish by massaging a generous amount of petroleum jelly, cuticle oil, or rich hand cream into your nails and surrounding skin. Give your natural nails a few days to breathe and replenish moisture before applying your next set!
You Might Also Like
 Beauty
How to Get Gorgeous, Salon-Quality Nails at Home
Master the art of the DIY manicure with our step-by-step guide to shaping, prepping, and caring for strong, radiant nails at home.
 Beauty
How to Use Tanning Spray for a Flawless, Streak-Free Glow
Master the art of sunless tanning at home with our step-by-step guide to applying tanning spray evenly, avoiding streaks, and getting a natural glow.
BeautyHow to Wax Your Underarms at Home: A Painless, Step-by-Step Guide
Ditch the razor and enjoy smooth, hair-free underarms for weeks. Learn how to wax at home with less pain, zero mess, and silky-smooth results.