
How to Make Your Own Natural Lip Plumper at Home
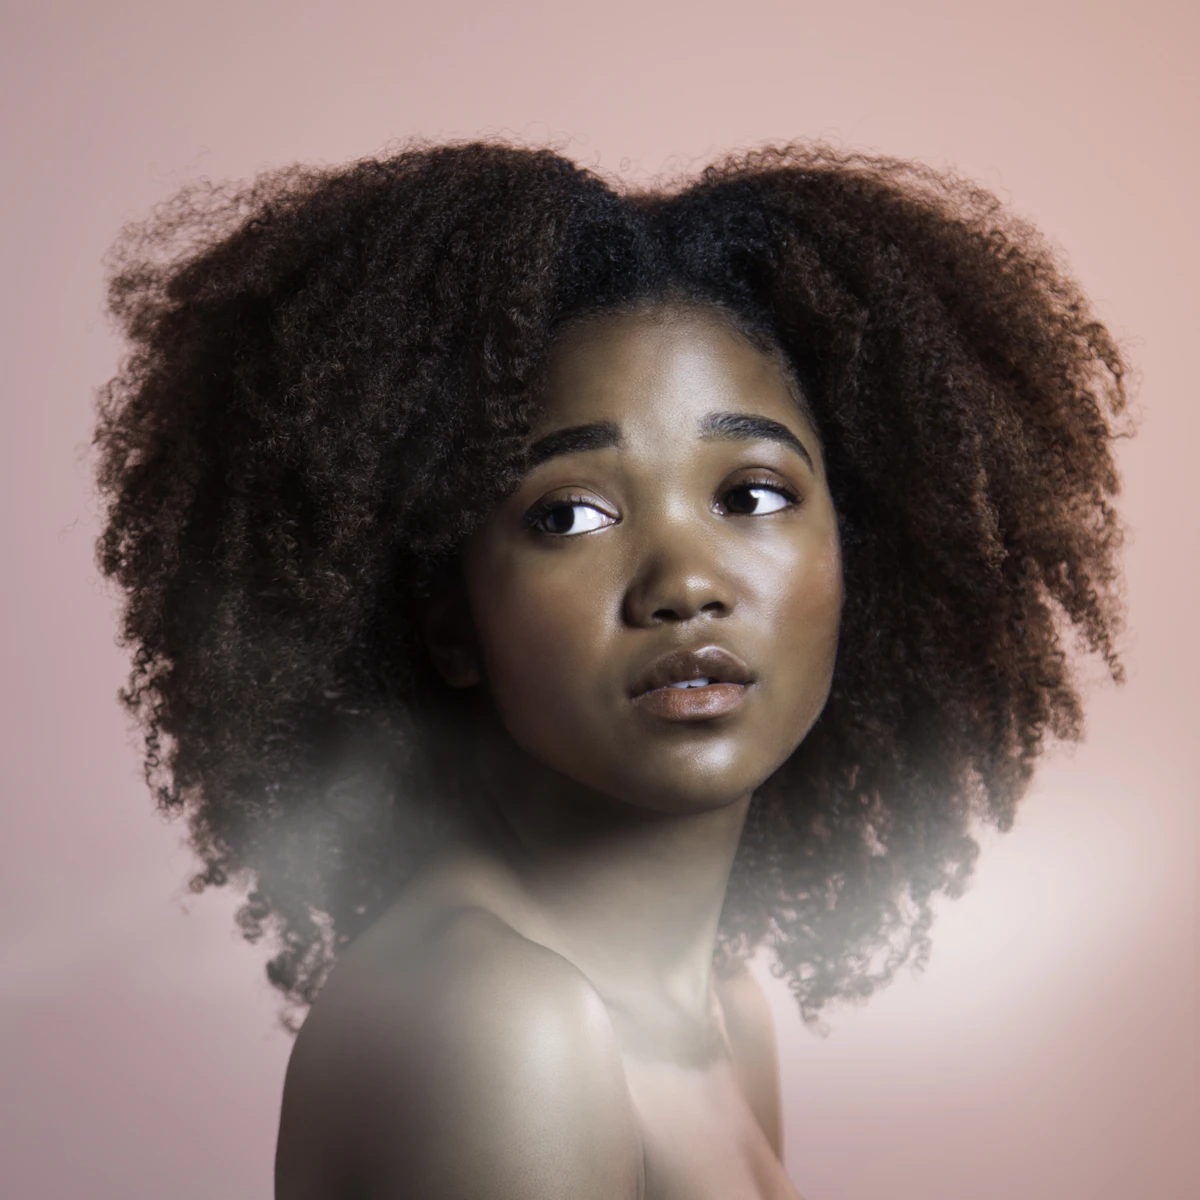
How to Make Your Own Natural Lip Plumper at Home
Full, pillowy lips have always been in style, but achieving that coveted volume doesn’t have to require clinical injections or expensive, chemical-heavy department store glosses. Throughout history, women have turned to clever natural tricks to enhance their pout—some even lightly dabbed red pepper on their lips to get a flushed, swollen effect!
Fortunately, modern DIY beauty offers much gentler, intensely nourishing alternatives. By blending natural waxes with safe, circulation-stimulating botanical oils, you can whip up a luxurious lip plumper in your own kitchen. Here is a simple, effective recipe to help you achieve luscious lips naturally.
What You Will Need
- 1 tablespoon beeswax (pellets or finely chopped from a block)
- 1 teaspoon vegetable glycerin (for deep hydration)
- 1 teaspoon black pepper essential oil (stimulates microcirculation for a natural plumping effect)
- 1 teaspoon vanilla extract (adds a warm, delicious scent and taste)
- A few drops of food-safe cosmetic tint or food coloring (pink, nude, or berry tones)
- A small heat-safe saucer or glass bowl
- A small balm jar or empty tin
- A gentle heat source (a double boiler setup or hot water bath)
Step-by-Step Preparation
- Prepare the Beeswax: If you are using a block of beeswax, finely chop or grate it so it melts evenly and quickly.
- Set Up a Gentle Heat Bath: Place your heat-safe dish over a simmering water bath (bain-marie style). Add the beeswax pieces and let them melt completely over gentle heat.
- Incorporate the Active Oils: Once the wax has turned into a clear liquid, remove the dish from the heat. Immediately stir in 1 teaspoon of vegetable glycerin and 1 teaspoon of black pepper essential oil.
- Add Scent and Shade: Stir in 1 teaspoon of vanilla extract to give your balm an irresistible aroma. Add a tiny drop of your chosen tint, mixing well until you achieve your preferred shade.
- Pour Without Hesitation: Move quickly! Unlike petroleum jelly, beeswax solidifies within seconds once exposed to cool air. Carefully pour the warm liquid into your clean lip balm container before it begins to set. This rapid setting quality is actually what gives your finished plumper a smooth, durable, and long-lasting texture.
- Chill and Set: Place your container in the refrigerator for about 5 minutes until fully solidified.
How to Use Your DIY Plumper
Apply a thin layer to clean, dry lips whenever you want an extra boost of volume and hydration. Within a minute or two, you will feel a mild, refreshing tingle—that is the black pepper oil doing its job to enhance blood flow and bring a naturally flushed, plump fullness to your lips.
You Might Also Like
 Beauty
How to Make Your Own Liquid Blush at Home for a Radiant Glow
Turn your favorite powder blush into a dewy, long-lasting cheek tint using everyday skincare. Here is an easy step-by-step DIY guide for a fresh, natural flush.
 Beauty
How to Make Your Own Cream Blush at Home
Give your favorite nearly empty lipsticks a second life by turning them into a gorgeous, dewy cream blush using simple skincare staples.
 Beauty
How to Minimize the Look of Large Pores with Foundation: A Step-by-Step Guide
Learn practical makeup techniques and skincare prep to blur visible pores and achieve a smooth, airbrushed finish with foundation.