
How to File Your Nails Like a Pro: The Ultimate At-Home Guide

Master the Art of Filing: Salon-Quality Nails at Home
Many people assume that gorgeously shaped nails require a bi-weekly trip to the salon. While a professional manicure is a wonderful treat, maintaining healthy, beautifully shaped nails at home is far simpler than you might think. You do not need professional training—all you need is the right file, proper prep, and gentle technique.
Filing comes down to two essential stages: prepping your nails correctly and applying the proper filing motions. Here is everything you need to know to achieve salon-worthy results right at your vanity.
—
Essential Prep Before You Start Filing
Before picking up your file, taking a few minutes to prepare ensures clean lines and prevents premature splitting.
1. Choosing the Right Nail File
Your tool makes all the difference. The market offers a wide variety of files, each suited for different nail textures:
- Standard Emery Boards: Inexpensive and widely available, these double-sided cardboard files usually feature two different grit levels. They are versatile and great for standard maintenance.
- Understanding Grit Numbers: Nail files are measured in grits. The higher the number, the softer the file. For natural nails, choose a grit between 180 and 240. Anything rougher (such as 80 to 100) is meant for artificial enhancements and will tear natural nails.
- Glass and Crystal Files: The gold standard for natural nails. While slightly more expensive, crystal files seal the keratin layers at the edge of the nail, preventing peeling and fraying. They also last for years and clean easily.
- Metal Files: Highly durable, but they can be too abrasive for fragile nails or delicate surrounding skin. If you have sensitive cuticles or brittle nails, swap metal for crystal.
- Foam Buffer Blocks: These rectangular multi-sided blocks feature progressive textures designed to shape, smooth, buff, and shine the nail surface gently.
2. Picking Your Ideal Nail Shape
Choosing the right shape depends on your natural nail bed, finger anatomy, and daily lifestyle. Here are the five primary shapes:
- Oval: Follows the natural curvature of your fingertip. It creates an elongating effect, looks effortlessly classic, and requires minimal filing along the outer edges.
- Square: Characterized by straight, sharp side walls and a blunt, flat top. Ideal for wide nail beds, though sharp corners can snag on fabric if not lightly softened.
- Squoval (Soft Square): A flattering blend of square and oval. It combines flat edges with gently rounded corners, making it exceptionally sturdy and low-maintenance.
- Round: Perfect for shorter nails. The sides are kept straight, while the free edge is curved into a smooth semicircle that resists snags and breaks.
- Almond: Tapered along the sides with a softly rounded point at the center. It delivers an elegant, high-fashion aesthetic, though nails must be long enough to achieve the taper without weakening the sidewalls.
3. Cleanse Your Hands
Wash your hands thoroughly with mild soap and warm water to remove surface oils, residue, and trapped debris underneath the free edge. Having clean nails helps you clearly see the shape you are creating.
Pro tip: If your nails are currently painted with regular polish, leave it on while filing! The lacquer acts as a protective shield, keeping the nail layers bonded together as you shape them. You can wipe away the polish once your desired length and shape are locked in.
4. Dry Thoroughly
Always ensure your hands and nails are bone-dry before filing. Water softens keratin, making wet nails spongy, vulnerable to micro-tears, and prone to ragged edges. Avoid filing immediately after a hot bath or shower for the same reason.
—
How to File Your Nails Step by Step
Once your tools are ready and your hands are dry, follow this gentle method to shape your nails without causing damage.
Step 1: Clip Excess Length First
If you want to take off substantial length, use sharp nail clippers before reaching for your file. Cut your nails roughly into the silhouette of your desired shape. If you want an oval shape, trim the corners slightly rounded; if you want a square look, cut straight across. This prevents over-filing, which generates friction and weakens nail fibers.
Step 2: Master the Filing Technique
- Angle the File: Hold your file tilted slightly inward beneath the nail edge rather than perpendicular or flat on top. This subtle angle bevels the edge and protects the top nail layers.
- File in One Direction: Never seesaw back and forth across the nail. Aggressive sawing causes microscopic fraying, leading to peeling and breakage. Instead, sweep the file smoothly from the outer sidewall toward the center in one fluid stroke.
- Keep Pressure Light: Let the grit do the work. Pressing hard into the nail creates heat, bends the nail plate, and can crack the sidewalls.
- Work in Increments: Check your symmetry frequently. It is easy to file away too much length when trying to correct an uneven angle, so pause regularly to look at your hands with palms facing down.
Step 3: Smooth and Buff the Free Edge
After achieving your shape, turn your file vertically and sweep downward once or twice to remove any tiny hanging bits of keratin (often called “feathers”) clinging beneath the tip. Finally, take a fine-grit buffer block across the tips to seal the edge, leaving your nails completely smooth to the touch.
—
Finishing Up
Complete your at-home manicure by washing away any remaining dust, applying a nourishing cuticle oil around each nail bed, and sealing in moisture with a rich hand cream. With the right tools and gentle technique, you will have strong, balanced, beautifully sculpted nails every single week.
You Might Also Like
 Beauty
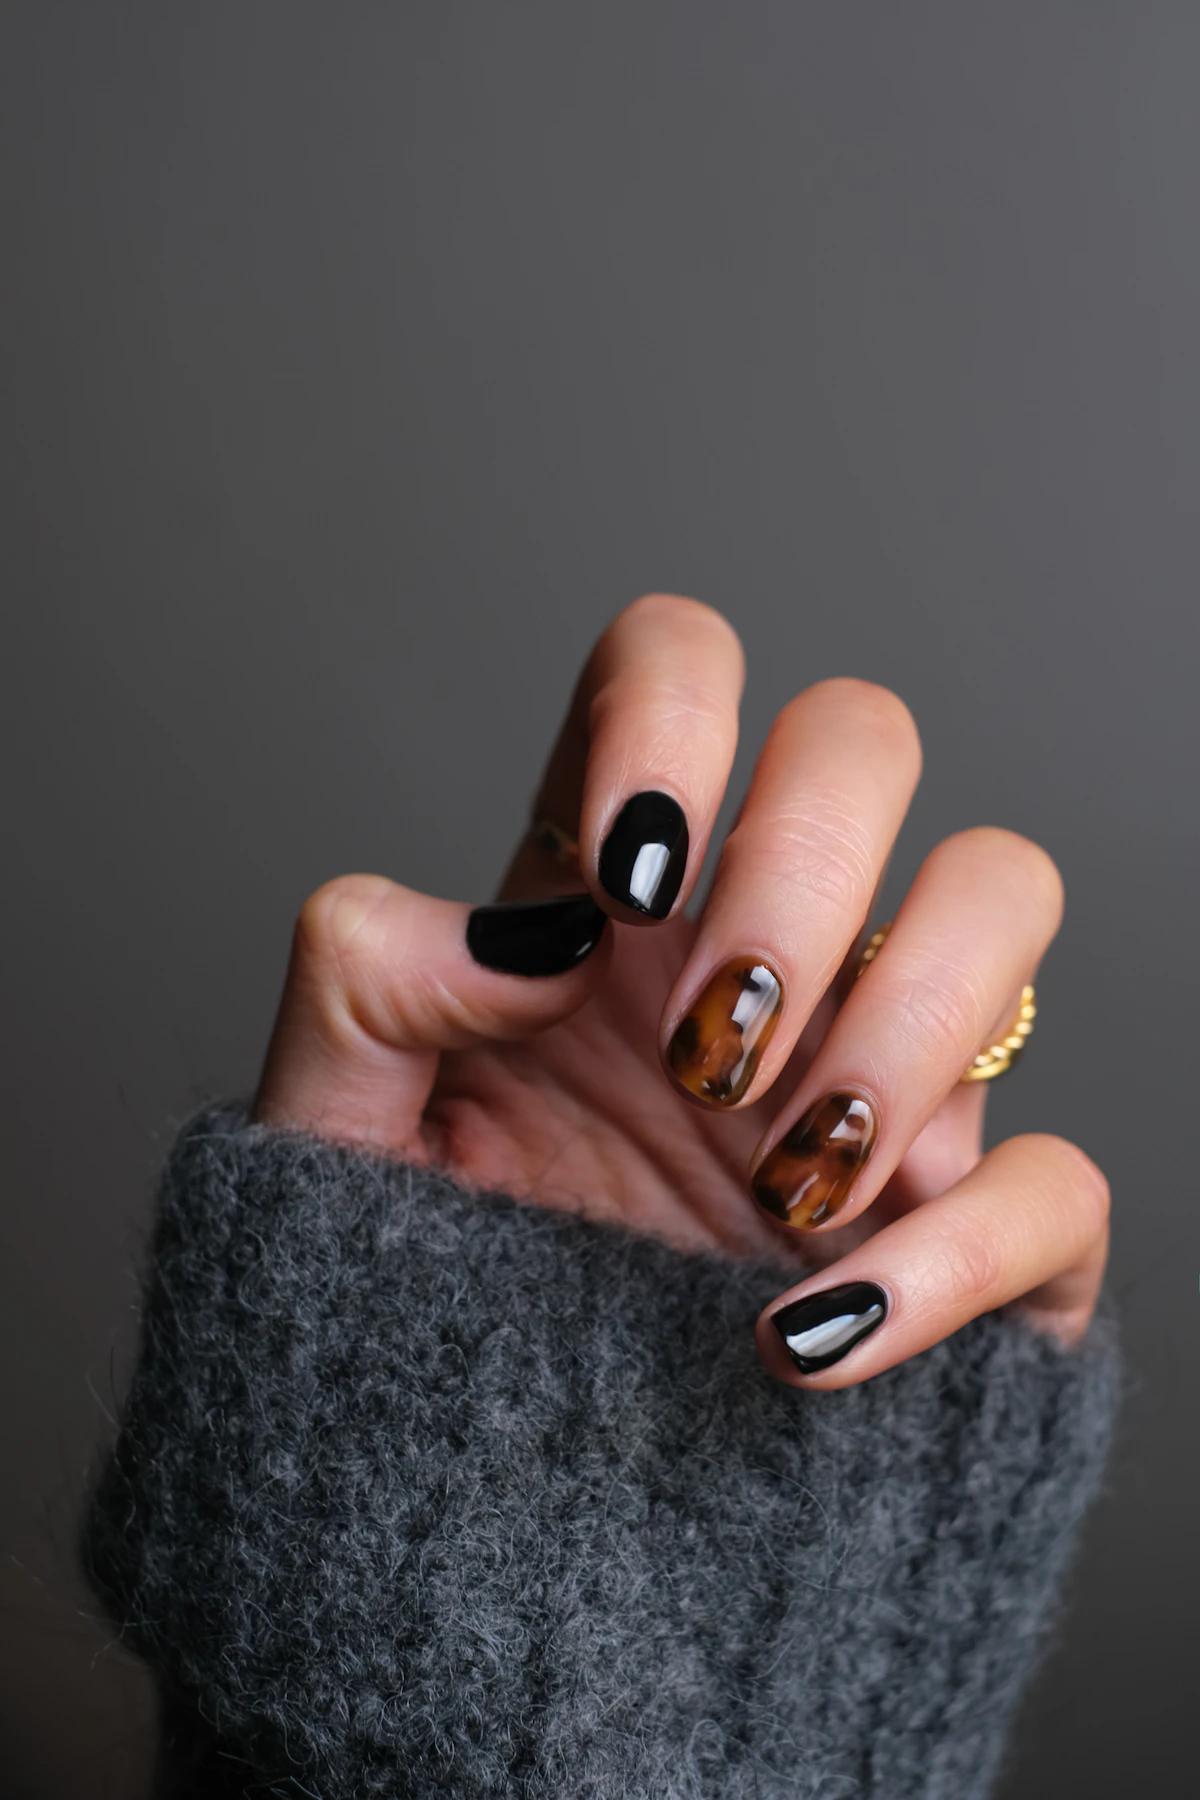
How to Get Gorgeous, Salon-Quality Nails at Home
Master the art of the DIY manicure with our step-by-step guide to shaping, prepping, and caring for strong, radiant nails at home.
 Beauty
How to Get Rid of Strong Body Odor and Stay Fresh All Day
Discover simple yet powerful daily habits to eliminate tough body odor, stay clean, and smell great throughout the day.
 Skincare
How to Soothe and Treat an Underarm Rash: Causes, Relief, and Prevention
Struggling with itchy, irritated armpits? Discover the common causes behind underarm rashes and practical, skin-friendly ways to find fast relief.