
How to Do a Classic Fishtail Braid at Home: A Beginner-Friendly Guide
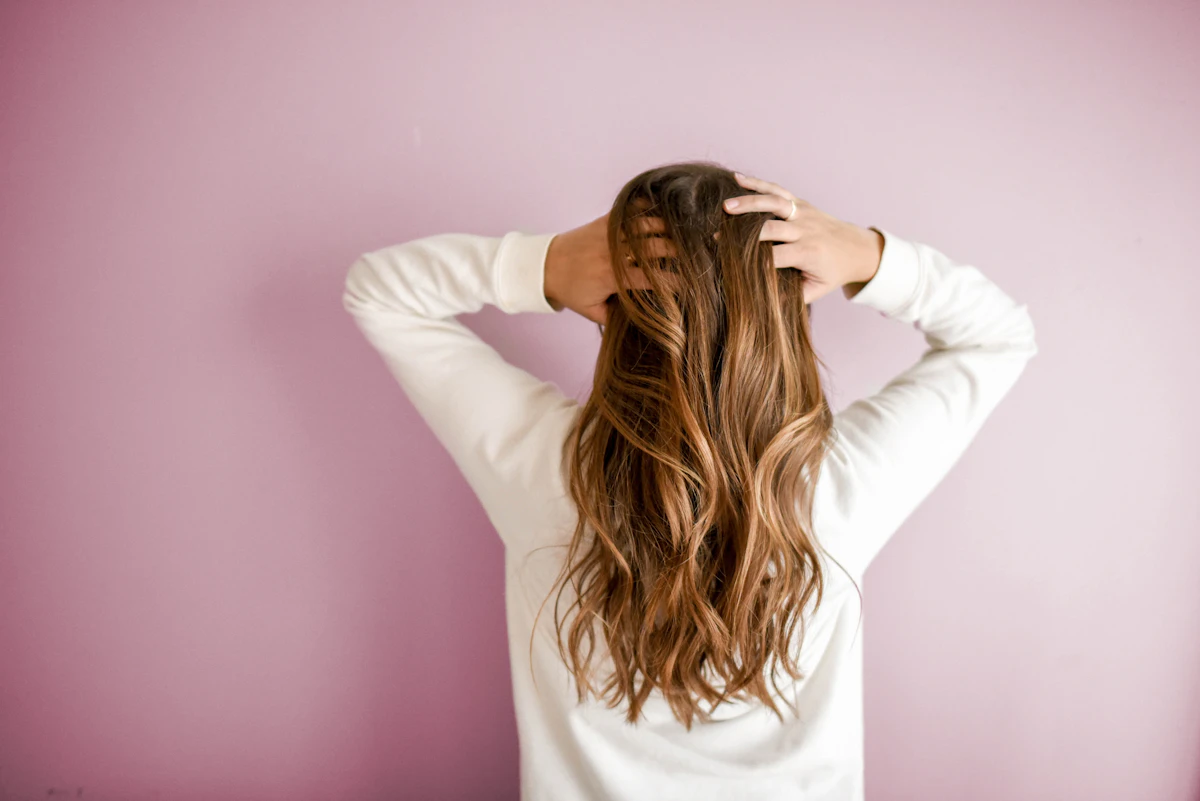
How to Master the Fishtail Braid at Home
Have you ever wanted to create those intricate, bohemian braids you see all over Pinterest and Instagram, but thought they looked way too complicated to do on your own? You are definitely not alone! Braiding your own hair can feel like a hand workout at first, but with the right technique, it is surprisingly simple.
In this guide, we are breaking down the timeless fishtail braid into straightforward, beginner-friendly steps. Grab your comb, follow along, and let’s get styling!
What You Will Need
Before getting started, note that fishtail braids showcase their texture best on medium to long hair. Gather these simple essentials:
- A fine-tooth or detangling comb
- Clear or hair-colored elastic bands
- Bobby pins
- A light misting spray or hair oil to tame flyaways
Step-by-Step: Crafting the Perfect Fishtail Braid
Step 1: Prep and secure a sleek ponytail
Start by thoroughly brushing through your hair to remove any knots or tangles. Gather your hair into a ponytail at your preferred height—low at the nape of your neck for an effortless vibe, or mid-height for a chic, everyday look. Use your comb to smooth down the crown and sides, then secure the ponytail firmly with an elastic.
Step 2: Conceal the hair elastic
Elevate your hairstyle with a quick salon trick: take a slender strand of hair from underneath the ponytail and wrap it snugly around the hair elastic until the band is completely hidden. Tuck the remaining end beneath the base and anchor it securely with a bobby pin.
Step 3: Divide into two equal sections
Unlike a traditional three-strand braid, a fishtail requires only two main working sections. Use your fingers to split the ponytail cleanly down the middle into a left half and a right half.
Step 4: Begin the cross-weave pattern
This is where the magic happens:
- Take a thin strand of hair from the outermost edge of the right section.
- Cross it over the front and tuck it into the inner side of the left section.
- Next, take an equally thin strand from the outermost edge of the left section and cross it over into the right section.
- Keep your grip relatively taut as you repeat this motion all the way down. The thinner the strands you pull, the more intricate and detailed your finished braid will look!
Step 5: Tie off and finish your look
Continue this crisscross motion until you reach about an inch or two from the ends. Fasten the tip securely with a small elastic band.
Pro Styling Tip: For a fuller, romantic, bohemian texture, gently pull at the outer edges of the braid using your fingertips (a technique called “pancaking”). Finish with a light mist of water or a drop of hair oil to tame any strays, and enjoy your gorgeous, salon-worthy braid!
You Might Also Like
 Beauty
How to Naturally Lighten Your Hair Without Causing Damage
Discover gentle, salon-worthy ways to brighten your hair at home without the frying effects of traditional bleach.
BeautyHow to Safely Detangle Severely Matted Hair Without Breakage
Learn gentle, salon-approved techniques to unravel stubborn knots, teased updos, and post-braid tangles without snapping your strands.
 Hair Styling
How to Create an Effortless Voluminous Braid: A Step-by-Step Guide
Transform an ordinary three-strand weave into a soft, voluminous statement braid with this easy step-by-step technique.