
How to Cut and Shape Your Nails Like a Pro
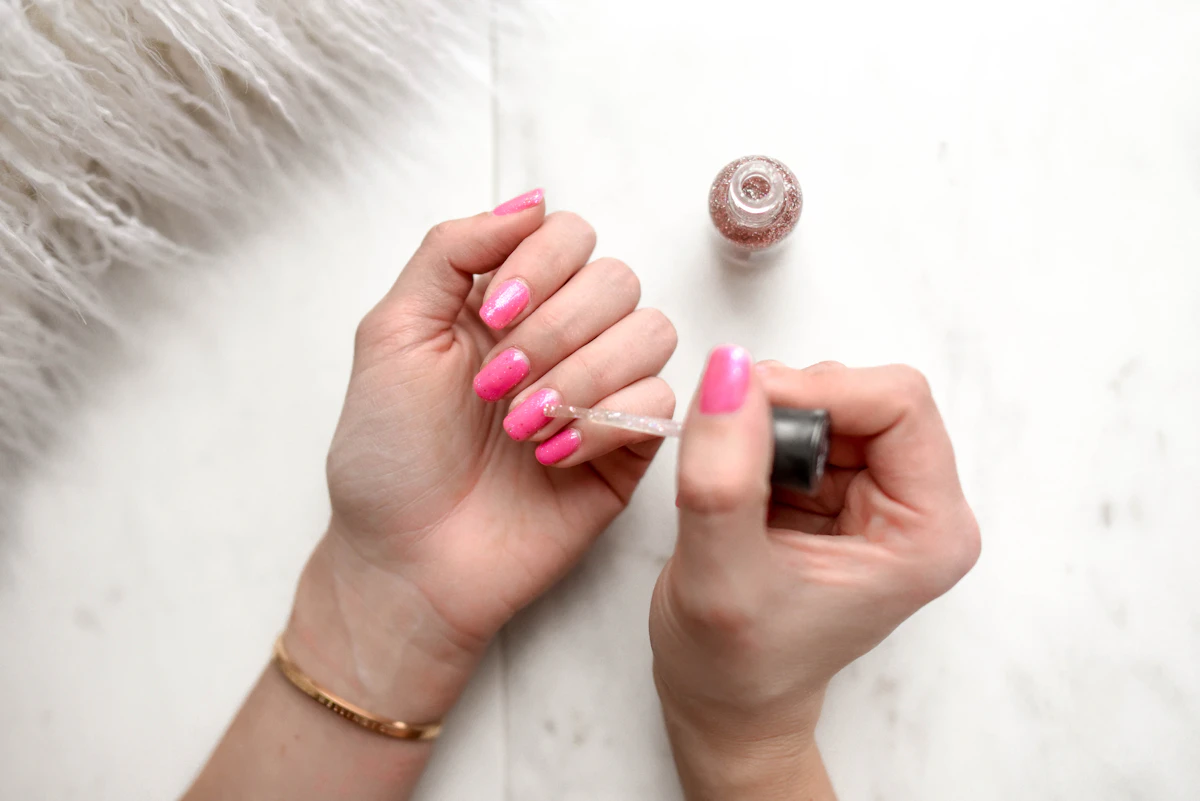
Well-kept nails make an undeniable difference in your everyday appearance—giving off an impression of cleanliness, self-respect, and attention to detail. Whether you prefer a modern straight edge or a soft, natural curve, mastering basic nail trimming prevents painful snags and splitting.
Here is a simple, foolproof guide to trimming and shaping your nails at home.
Method 1: The Clean Square Cut
If you love a modern, neat look, a straight cut with slightly softened edges is your best choice. It is also the ideal shape for preventing ingrown nails.
- Step 1: Prep with warm, soapy water. Wash your hands thoroughly in warm water. The warmth and soap soften hard nail keratin, making cutting effortless and preventing jagged fractures. If your nails feel unusually brittle or tough, let your fingertips soak for two to three minutes.
- Step 2: Make a straight trim. Grab a sharp, clean pair of nail clippers. Clip straight across in small, controlled cuts. Be careful not to trim too close to the quick—leaving a tiny sliver of white tip ensures your sensitive nail bed stays protected and pain-free.
- Step 3: File gently in one direction. Pick up a fine-grit nail file. Gently glide the file across the top edge in a single direction rather than sawing back and forth, which can fray the nail layers. Keep the straight profile intact while smoothing out rough spots.
- Step 4: Repeat and rinse. Repeat these steps across all ten fingers. Once finished, rinse away any nail dust and finish with a drop of hand cream.
Method 2: The Timeless Oval Shape
Oval nails create an elongated, elegant appearance that flatters almost every hand shape.
- Step 1: Trim as a baseline. Begin by completing the preparation and base clipping steps outlined in Method 1. Starting with a slightly longer, straight-cut nail gives you the foundation you need to sculpt a balanced curve.
- Step 2: Contour the outer corners. Instead of keeping the edge flat, take your file and work inward from the outside corners toward the center. Maintain gentle, fluid strokes in one direction on each side until you achieve a smooth, rounded arch.
- Step 3: Customize your curve. You are in complete control of how pronounced the curve is. Keep it subtle for a sporty everyday look, or round it out further for an elongated, classic silhouette.
Essential Tips for Healthier Nails
- Never cut too deep: Always leave a margin of white free edge. Trimming into the pink bed risks cuts, bleeding, and painful bacterial infections.
- Be gentle with your tools: Rushing with clippers or sawing aggressively with a metal file will weaken the nail structure, causing annoying peeling and cracks.
- Break the biting habit: If you tend to nibble on your nails when stressed, try using a bitter nail polish or keeping a hand cream nearby. Biting ruins your fresh shape and introduces bacteria to your mouth.
- Take your time in a calm space: Set aside five quiet minutes in good lighting where you won’t be bumped or distracted. Precision takes a steady hand!
You Might Also Like
 Beauty
How to Get Gorgeous, Salon-Quality Nails at Home
Master the art of the DIY manicure with our step-by-step guide to shaping, prepping, and caring for strong, radiant nails at home.
 Beauty
How to Do an At-Home Pedicure: A Step-by-Step Guide to Salon-Worthy Feet
Treat yourself to a relaxing at-home pedicure with this simple step-by-step guide for silky-soft feet and a flawless, long-lasting polish.
 Beauty
Winter Nail Care Guide: How to Strengthen Weak, Brittle Nails at Home
Cold weather can leave your nails brittle and peeling. Discover simple DIY soaks, nourishing habits, and seasonal tips to keep your nails strong all winter.