
How to Apply Micro-Bead Hair Extensions: A Step-by-Step Guide
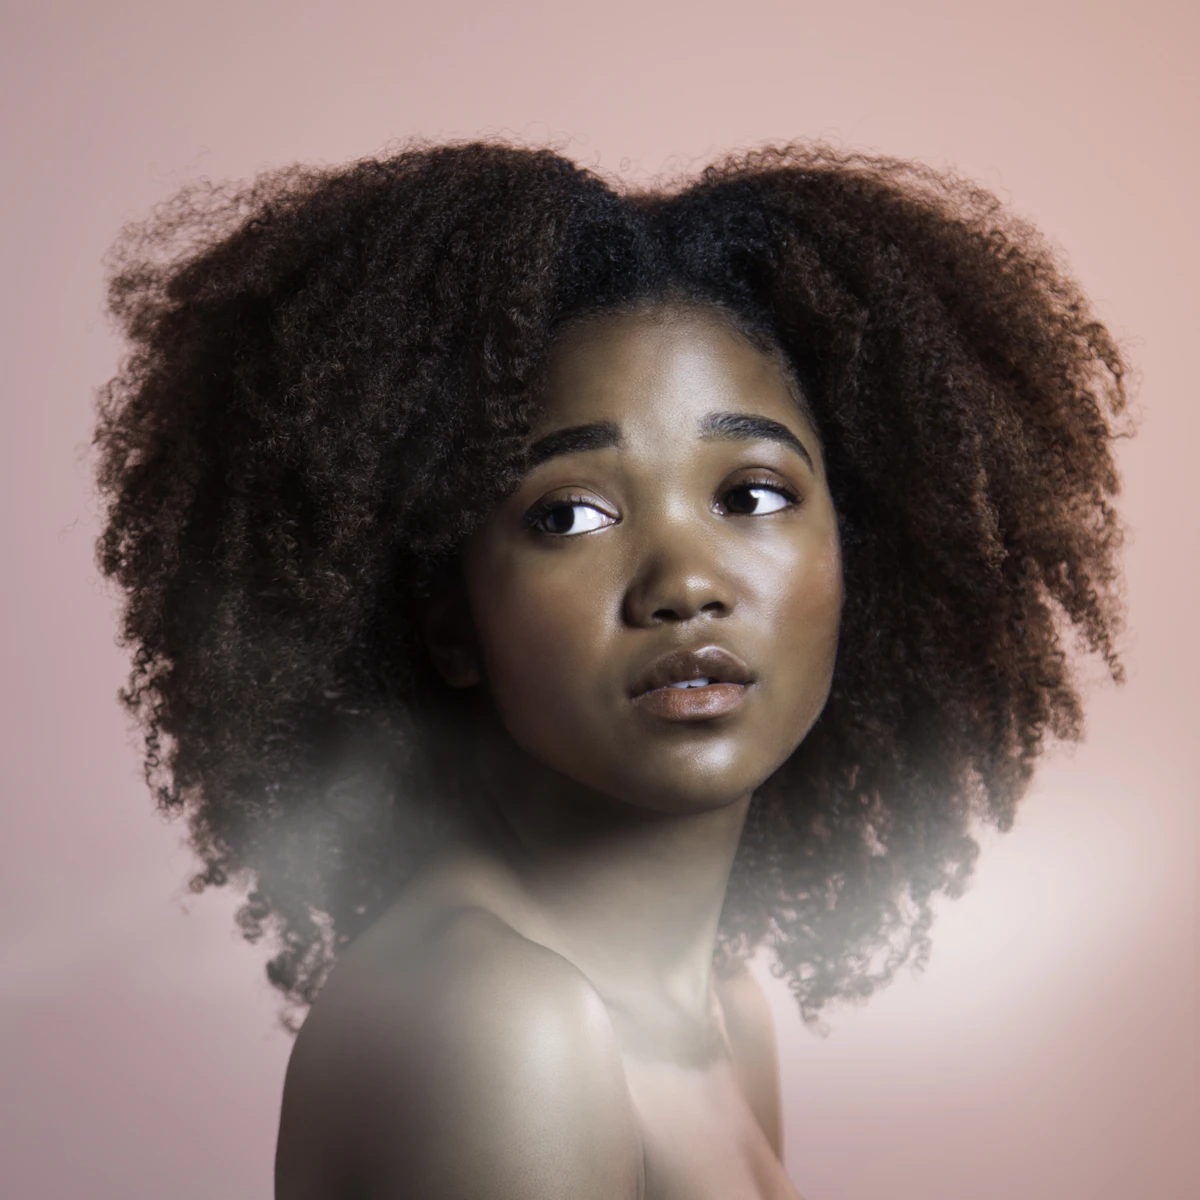
How to Apply Micro-Bead Hair Extensions
If you have short hair and are dreaming of long, luscious locks, extensions are the ultimate shortcut. Whether you opt for keratin bonds, micro-links, or classic micro-bead extensions, there is a solution for nearly every hair length. A proper micro-bead extension session usually takes around an hour, yet the results give you months of natural-looking, flowing hair.
Here is everything you need to know about applying micro-bead hair extensions correctly, safely, and seamlessly.
Essential Supplies You Will Need
- Micro-bead hair extension pack: Usually comes in bundles of 50 to 100 strands.
- Professional hair extension pliers: Designed specifically to clamp and release micro-rings without snapping natural hair.
- Sectioning clips and a tail comb: Essential for neat, clean parted lines.
—
Step-by-Step Micro-Bead Extension Application
1. Match Your Color Perfectly
Before you start, make sure your extension strands perfectly match your natural shade. A seamless blend relies on having no visible tone discrepancies between the extension hair and your own locks.
2. Map Out Your Sections
Always work from the bottom up. Start near the nape of your neck and gradually work your way toward the crown of your head, sectioning off the upper layers securely with hair clips.
3. Position the First Bead Near the Scalp
Take a small strand of natural hair at the nape. Position the bead approximately 1 centimeter (around half an inch) away from the scalp. Never clamp directly on the root, as this causes tension and scalp discomfort. Slide the natural strand through the bead, position the extension tip inside, and clamp firmly with your extension pliers.
4. Build a Neat Row
Continue across the section in a straight, horizontal line. Leave even spacing between each bead to ensure comfort and natural movement. Repeat this process until you complete the first row.
5. Layer and Conceal
Once the first row is finished, release a thin horizontal section of your natural hair to completely cover the clamped beads. Then, create your next parting slightly above it and begin installing your second row.
6. Easy Maintenance for Loose Strands
Micro-beads are one of the gentlest extension methods available because they require zero heat or harsh glues. If a strand slips out over time, you can easily reattach it using the same bead and pliers.
7. Washing and Styling Tips
Once installed, you can wash, dry, and style your hair just like natural locks. When brushing, hold the roots with one hand and use an extension-safe loop brush to avoid snagging the beads.
8. Customize with Extra Volume
If you want dramatic red-carpet thickness, you can combine your micro-bead extensions with a few strategically placed clip-in wefts for special occasions.
With the right technique and gentle aftercare, micro-bead extensions deliver a gorgeous, natural transformation that keeps your natural hair healthy beneath.
You Might Also Like
 Beauty
How to Lighten Brown Hair at Home: A Step-by-Step Guide
Ready to brighten your brunette locks? Learn how to safely bleach and lighten brown hair at home with professional tips on mixing, application, and aftercare.
BeautyHow to Lighten Your Hair Naturally with Lemon Juice
Learn how to safely lighten your hair using fresh lemon juice and sunlight for soft, radiant, sun-kissed highlights without harsh chemicals.
Hair CareHow to Go Blonde Naturally: Easy DIY Methods for Lighter, Sun-Kissed Hair
Discover simple, budget-friendly ways to naturally lighten your hair at home using pantry staples like lemon juice, chamomile, and gentle sun-activated rinses.