
How to Make a DIY Jeweled Headband: A Step-by-Step Guide
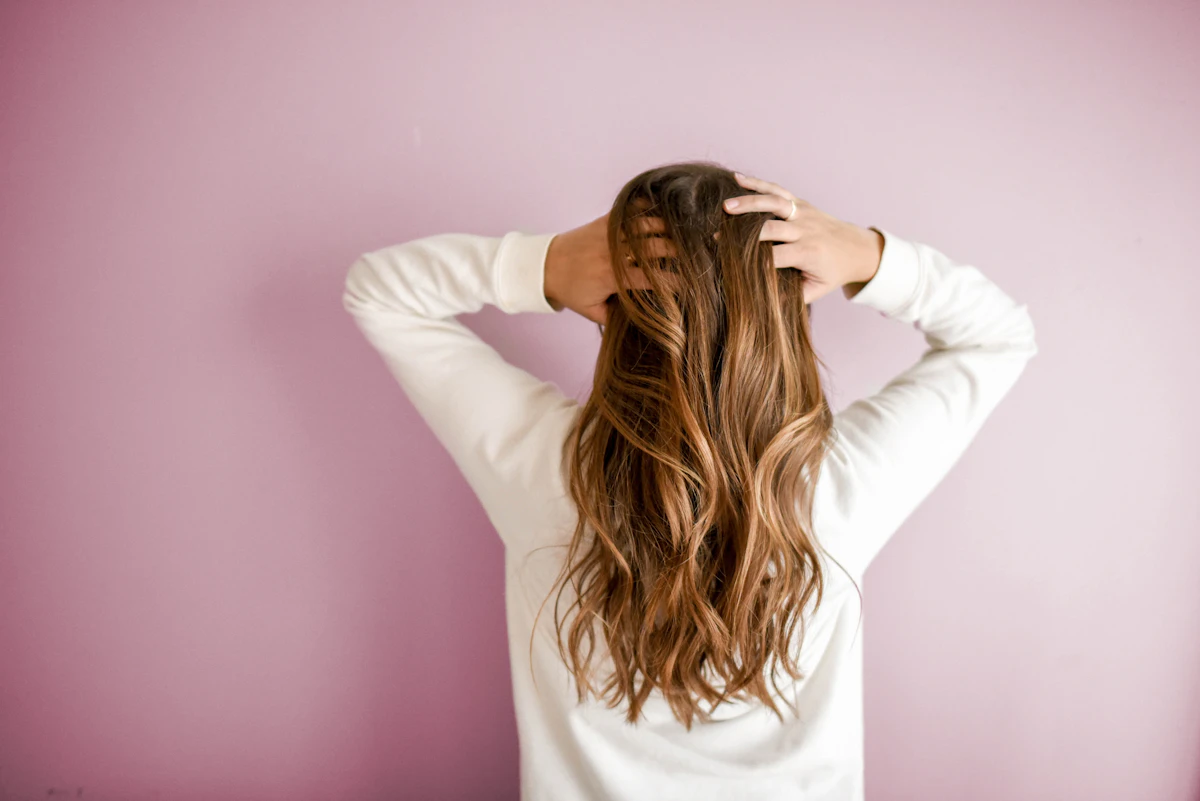
How to Make a DIY Jeweled Headband
Headbands have officially taken center stage in the hair accessory world, giving classic barrettes and hair clips a serious run for their money. Embellished, rhinestone-encrusted headbands have become a go-to statement piece for bridal veils, wedding guest outfits, and chic evening wear alike.
The best part? Crafting your own custom jeweled headband is remarkably easy. If you can never seem to find the exact color, width, or sparkle level you want in retail stores, making one from scratch is the ultimate solution. Here is everything you need to know to create your own showstopper piece at home.
Materials You Will Need
- Decorative embellishments: Rhinestones, sequins, faux pearls, crystals, beads, or metallic accents that match your personal style
- Adhesive: A hot glue gun with glue sticks or a reliable multi-surface craft adhesive (such as E6000 or fabric glue)
- Base fabric: Velvet, satin, grosgrain ribbon, or any sturdy fabric of your choice
- Scissors: Sharp fabric shears
- Closure accessories (optional): A small piece of elastic or snap fasteners
Step-by-Step Instructions
1. Measure and Cut Your Base Fabric
Measure the circumference of your head and cut your chosen fabric to size. Decide how you want the headband to fasten. You can leave extended tie ends that knot neatly behind your neck for an adjustable fit, or you can stitch a piece of elastic or snap buttons to the ends for a sleek, snug hold.
2. Keep the Base Fabric Sleek and Simple
When making an embellished headband, opt for a solid, high-quality fabric such as velvet, silk-blend satin, or rich linen. Avoid busy prints or heavily textured patterns. The gems and rhinestones are meant to be the star of the show, and a clean background ensures your design looks polished rather than chaotic.
3. Map Out Your Embellishment Design
Before gluing anything down, lay your headband flat and visualize where the stones should sit. Many statement headbands look best when the embellishments sit slightly off-center—accenting either the right or left side of your head. You can arrange your stones in an organic cluster, create repeating floral motifs, or build an intricate gradient of sparkle.
4. Master the Gluing Technique
Do not apply hot glue directly onto the fabric in large pools, as excess adhesive can seep through and ruin the finish. Instead, pick up each stone individually, apply a small, controlled dot of glue directly to the back of the bead, and immediately press it firmly onto the fabric. Work carefully, one piece at a time.
5. Let the Adhesive Fully Cure
Once you have placed a stone on the fabric, resist the temptation to nudge, shift, or check if it has stuck for at least a full minute. Allowing the glue to bond and cool completely undisturbed is the secret to a durable, professional-quality accessory. Give the entire piece at least an hour to set before wearing it.
Pro Styling Tips
- Sourcing supplies: Look for flat-backed stones and cabochons at local craft markets, haberdashers, or online bead wholesalers. Mixing different stone shapes—such as teardrops, marquise cuts, and classic rounds—creates effortless dimension.
- Color palette: Monochromatic designs (like pearl on ivory or jet black on black velvet) offer timeless elegance, while contrasting gold and emerald tones bring a bold, regal finish to evening wear.
You Might Also Like
 Fashion
How to Choose the Perfect Bikini for Your Body Type
Find the most flattering bikini for your silhouette with expert styling tips on cup sizes, strap styles, and balanced proportions.
 Fashion
How to Choose the Perfect Prom Dress for Your Eye Color
Discover which prom dress shades make your eyes pop, whether you have striking blue, radiant green, warm hazel, or deep brown eyes.
 Fashion
How to Accessorize a Dress: The Ultimate Step-by-Step Styling Guide
Turn any dress from simple to stunning with our expert guide on choosing the right jewelry, shoes, and accents for every cut, vibe, and occasion.