
DIY Felt Favor Pouches: How to Craft Charming Handmade Keepsakes for Any Celebration
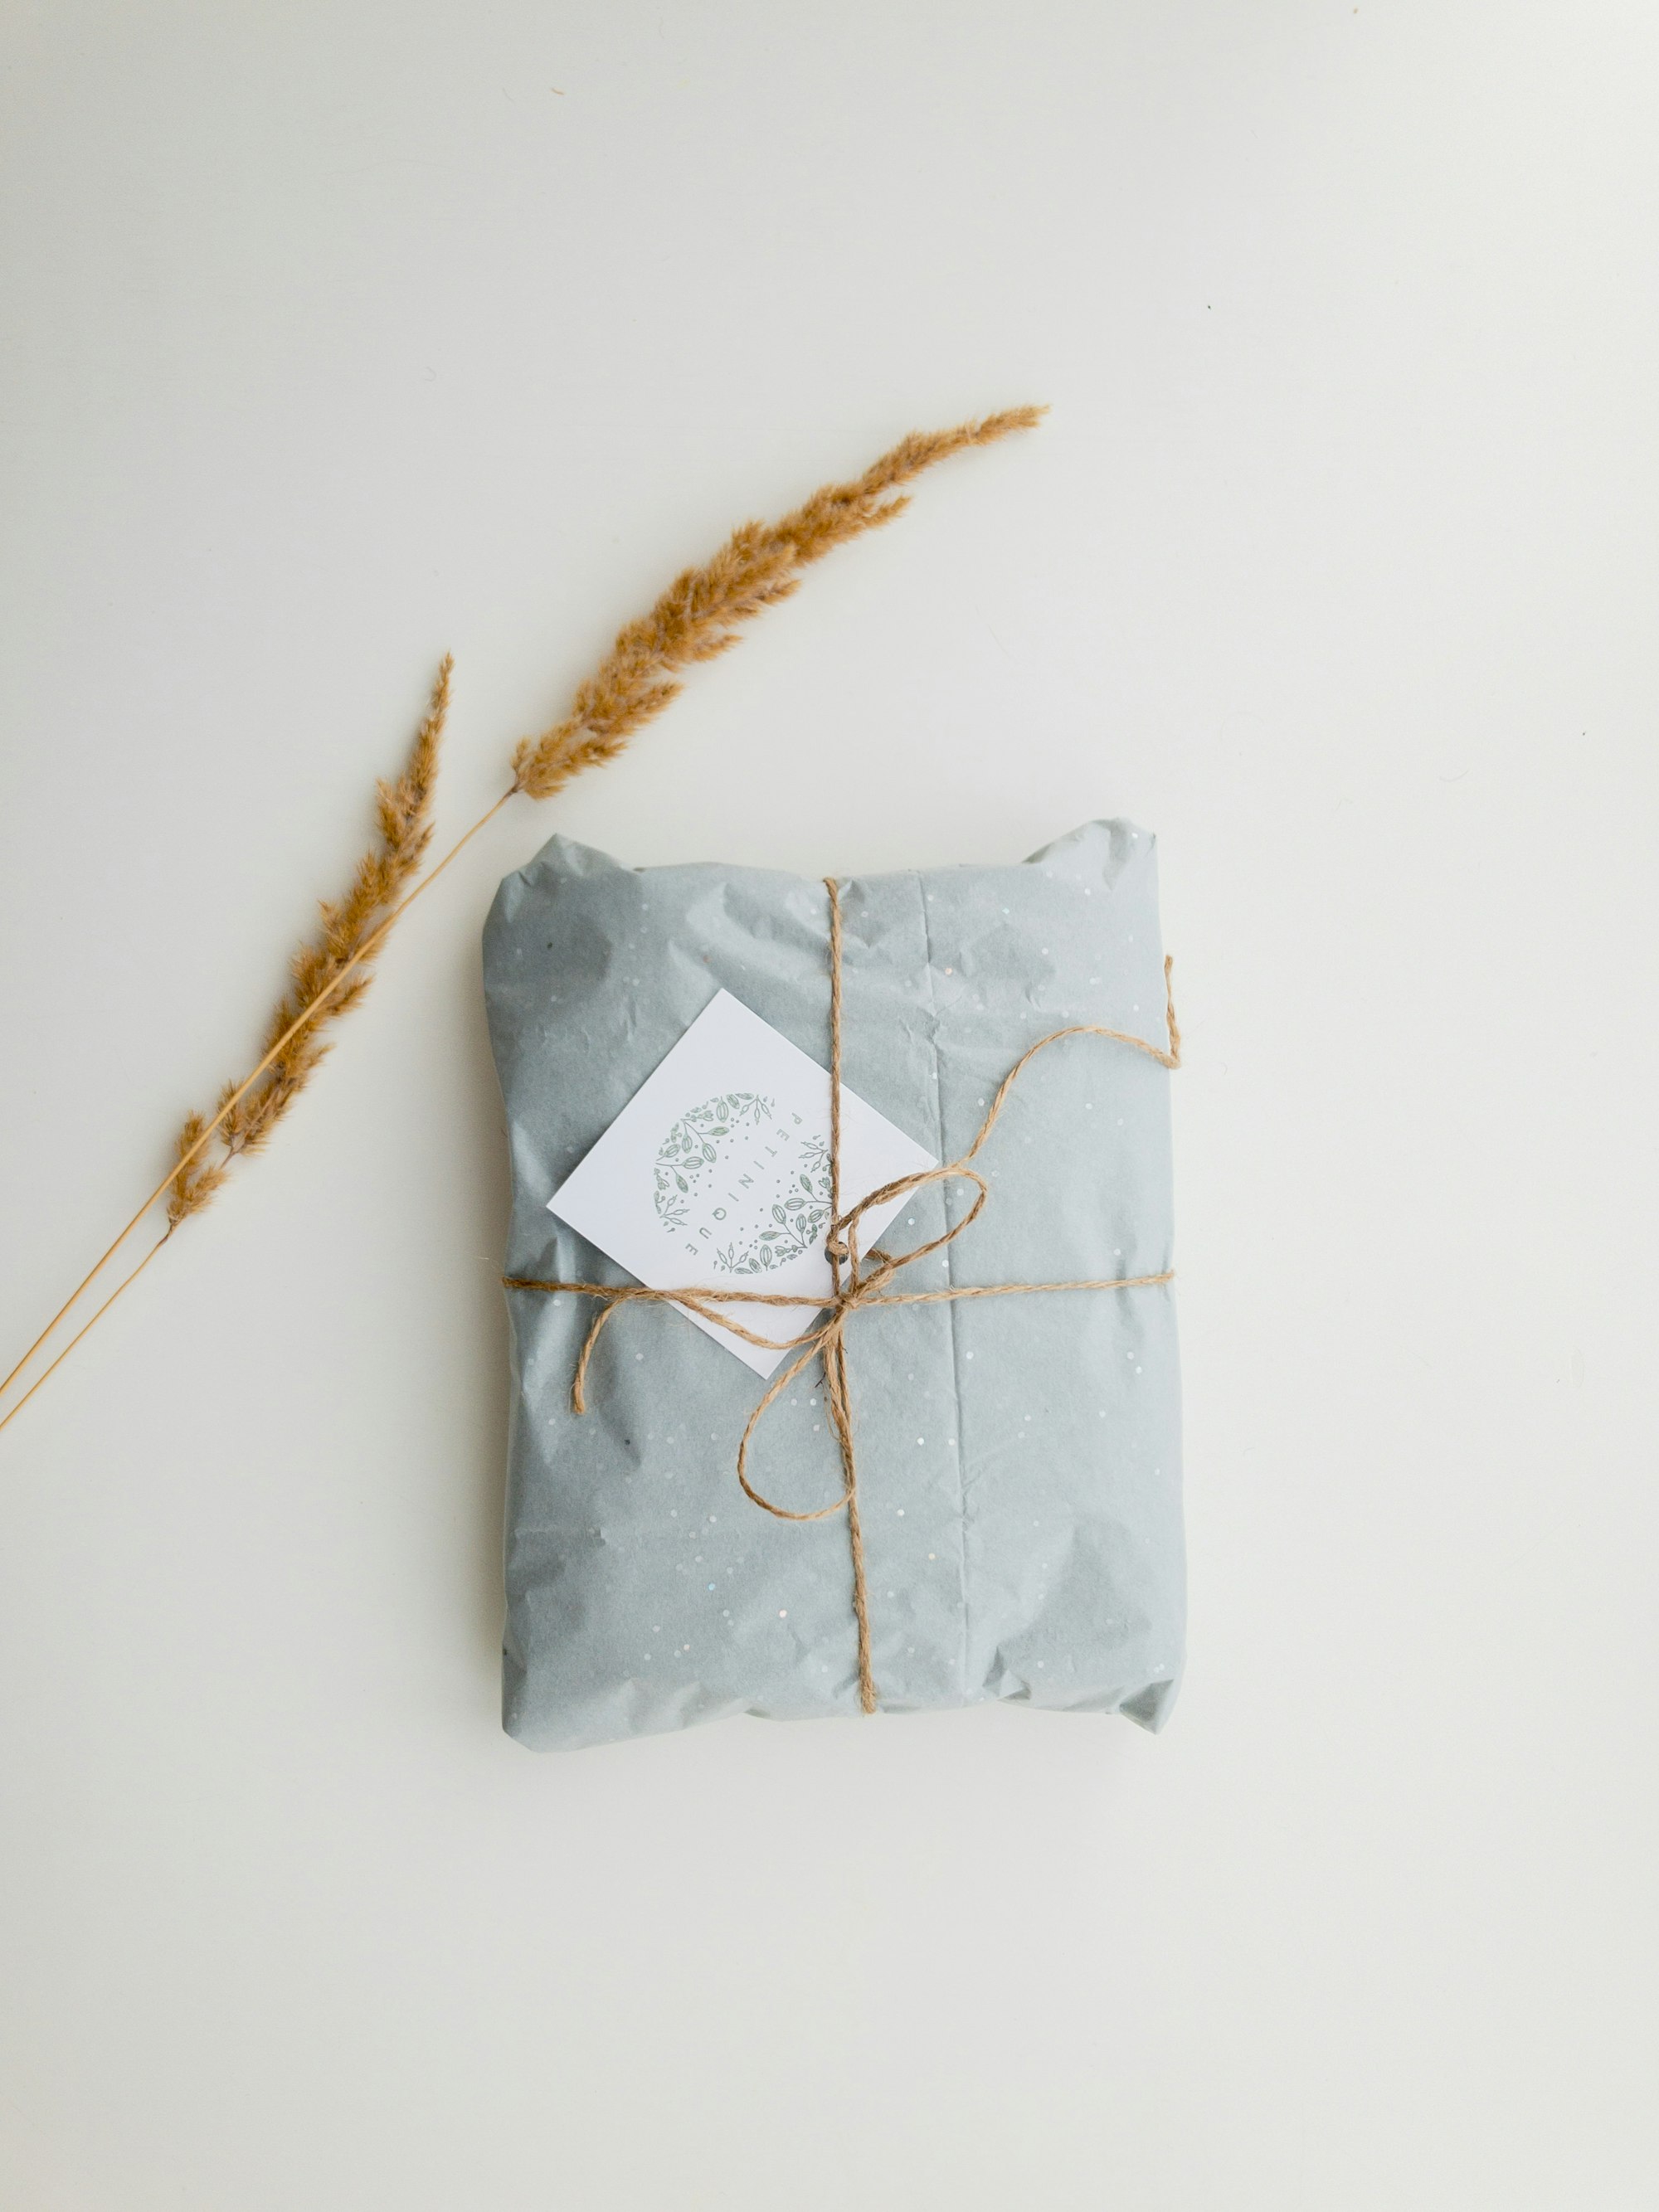
DIY Felt Favor Pouches: How to Craft Charming Handmade Keepsakes
There is something timeless and heartfelt about giving guests a gift made entirely by hand. Handcrafted favor pouches accented with soft felt motifs strike the perfect balance between rustic elegance and playful charm. Whether you are hosting a traditional first-tooth party (diş buğdayı), a baby shower, a wedding, or a festive holiday gathering, these custom sachets double as sweet keepsakes that your loved ones can tuck into drawers or display on dressers for years to come.
Best of all, making them is surprisingly easy, budget-friendly, and endlessly customizable. Here is how to create your own signature felt pouches from scratch.
Supplies You Will Need
- 100% cotton fabric: Patterned prints, gingham, or solid pastels work wonderfully
- Assorted craft felt: In colors that match your event palette
- Polyester fiberfill stuffing: A small handful for padding
- Satin or grosgrain ribbon: For tying the pouch securely
- Dried lavender flowers: To give each pouch a relaxing, long-lasting scent
- Craft magnet (optional): If you want your guests to stick the finished keepsake on the fridge
- Sewing needle, thread, and fabric scissors
—
Step-by-Step Guide to Crafting Felt Pouches
1. Cut and Stitch Your Fabric Pouches
Start by cutting your cotton fabric into neat rectangles. A finished dimension of roughly 7 × 10.5 cm (about 2.7 × 4 inches) is an ideal, pocket-sized format for party favors. Fold the fabric in half with right sides facing inward, stitch along the bottom and side seams, and leave the top edge open. Turn the pouch right side out and press it flat with an iron for crisp edges. Classic gingham check or delicate florals add instant charm to this step.
2. Design and Cut Your Felt Silhouette
Pick a motif that reflects the spirit of your celebration. For a baby’s first-tooth milestone, a tooth silhouette is whimsical and traditional. For showers or weddings, consider a heart, a cloud, an initial monogram, or an animal shape.
- Sketch your chosen shape onto paper first and cut it out to create a stencil.
- Trace the template onto your felt sheet using tailor’s chalk or a light pencil.
- Carefully cut out the shape with sharp detail scissors.
3. Add 3D Dimension with Fiberfill
Before stitching your felt motif flat against the fabric pouch, place a pinch of polyester fiberfill behind it. As you secure the felt onto the front panel of the pouch using a simple blanket stitch or running stitch, the stuffing creates a soft, raised 3D effect that looks professional and inviting. Feel free to accent the motif with tiny seed beads, embroidery floss, or fabric markers for extra character.
4. Anchor Your Ribbon Tie
To ensure your gift stays intact when guests open it, tack the midpoint of your ribbon directly to the back seam near the opening of the pouch with a few hidden stitches. This keeps the ribbon permanently attached so it never gets lost, while ensuring a neat bow every time.
5. Fill with Fragrant Dried Lavender
Scoop a tablespoon or two of dried lavender buds into the pouch before cinching the top closed. Dried lavender releases a soothing, fresh aroma whenever the pouch is handled, making this handmade token a sensory delight that keeps dressers and closets smelling wonderful for months.
Tie your ribbon into a neat bow, attach an optional magnetic strip to the back if desired, and your sweet handmade keepsakes are ready to delight your guests.
You Might Also Like
 Gift Ideas
Heartfelt DIY Mother's Day Gift Ideas: Pampering Treats and Keepsakes She Will Love
Looking for meaningful Mother's Day gifts on a budget? Explore thoughtful DIY spa treats and lovely handmade keepsakes crafted straight from the heart.
 Parenting
Fun and Creative Ways to Keep Your Child Entertained at Home
Looking for simple ways to keep your little ones happily occupied? Explore easy DIY crafts, age-appropriate games, and mindful digital activities.
 Knitting
How to Knit the Textured Basketweave Stitch: A Step-by-Step Guide
Master the eye-catching woven basketweave knitting stitch with our clear step-by-step tutorial. Perfect for cozy home decor, chunky blankets, and stylish accessories.